What to Do if Your iPhone Gets Water Damaged (Without Freaking Out)
We’ve all been there. You drop your iPhone in water—whether it’s your coffee, a pool party mishap, or just the dreaded "oops, I dropped it in the toilet" moment. 😱 Water damage can feel like the end of the world, but don’t panic. Modern iPhones do have some water resistance, but they’re not completely waterproof. So, if you’re reading this with a wet phone in your hand, here’s what you should do next (and don’t worry, it’s not the end of the world)!
1. Turn Your iPhone Off ASAP
First things first: turn off your iPhone. Seriously, the last thing you want is for water to mess with the internal circuits while your phone is still on. Hold down that power button, and switch it off! Don’t wait around for the screen to flicker; just shut it down. You’re preventing any short circuits that could make things worse.
💡 Pro Tip: The faster you do this, the better your chances of saving your phone.
2. Dry the Exterior—Gently
Now, grab something soft (like a towel, microfiber cloth, or even your hoodie) and gently dry the exterior of your iPhone. Don’t press too hard—you don’t want to push the water into the phone. Be patient and wipe around the screen, camera, and edges. Just get rid of the visible moisture.
And yes, avoid using a hairdryer (we’ve all seen the memes) because the hot air can mess up the phone’s components. Trust us, there are better ways.
3. Remove the SIM Card and Accessories
Pop out the SIM card tray and remove any accessories you’ve got on your iPhone, like your case or headphones. Why? Because water can get trapped in those spots, and you want to let everything air out. The more airflow, the better for your phone’s recovery.
4. Forget the Rice—For Real
We’ve all heard the "put it in rice" hack, but here’s the deal: rice is a no-go. It can leave behind tiny grains that could get stuck in your phone. Instead, if you have any, toss your iPhone in a bag of silica gel packets (those little packets that come with shoes and bags—yep, they’re good for something!). Or, simply leave your phone in front of a fan. It’s way safer and way more effective.
5. Let It Dry for 24-48 Hours
Patience is key here. Leave your iPhone in a dry, well-ventilated spot for 24 to 48 hours. Don’t plug it in or try to turn it back on before this. Yes, that’s right, you need to just chill for a bit. We know it’s tempting, but trust us—it’s worth the wait.
🔋 Pro Tip: If you’re super anxious, grab a cup of coffee, stream your favorite Netflix show, and just let the phone dry out. It’ll feel like an eternity, but it’s the safest route.
6. Check for Water Damage Indicators
Once you’ve given it time to dry, check your iPhone’s Liquid Contact Indicator (LCI). This tiny indicator will turn red if water has made its way inside. You can usually find it near the SIM card tray. If it’s red, your iPhone has water damage, and it’s time to take action.
7. Don’t Wait—Get Professional Repair ASAP
Okay, so your iPhone still isn’t turning on, or it’s glitching after that water accident? It’s time to call in the experts for iPhone water damage repair. Even if it’s still working, iPhone water damage recovery is tricky—corrosion can mess with your phone over time, so don’t let it slide.
At Happytel Repairs, we’ve got you covered. We’ve been fixing iPhone water damage since 2008 (yes, we’ve seen it all), and our technicians know exactly how to bring your phone back to life. Whether it’s a simple iPhone water damage fix or more serious repairs, we’ll get your phone working.
Conclusion
Getting iPhone water damage repair can sound like a nightmare, but if you follow these steps, you’ll have a much better chance of saving your phone. Remember: turn it off, dry it out, and if you need help, don’t hesitate to reach out to the pros at Happytel Repairs. We’ve got you covered, whether you need a quick iPhone water damage fix or full recovery. So, breathe easy—you’ve got this!
Find Your Nearest Happytel Repairs Store:
With 50+ locations across Australia and New Zealand, it’s easy to find a Happytel Repairs store near you. Use our store locator to get started and get your iPhone repaired today.

We’ve all been there—your trusty iPad starts showing signs of trouble, like a cracked screen or a battery issue, and you’re left wondering whether it’s time to fix it or simply splurge on a brand-new one. Whether it’s a screen that’s no longer responsive or a battery that won’t hold a charge, it’s easy to feel like a replacement is the only solution. But before you hand over your hard-earned cash for the latest model, let’s break down whether you should repair your device or replace it. Here’s how to decide. When Repairing Your iPad Makes Sense Cost-Effective Fixes vs....

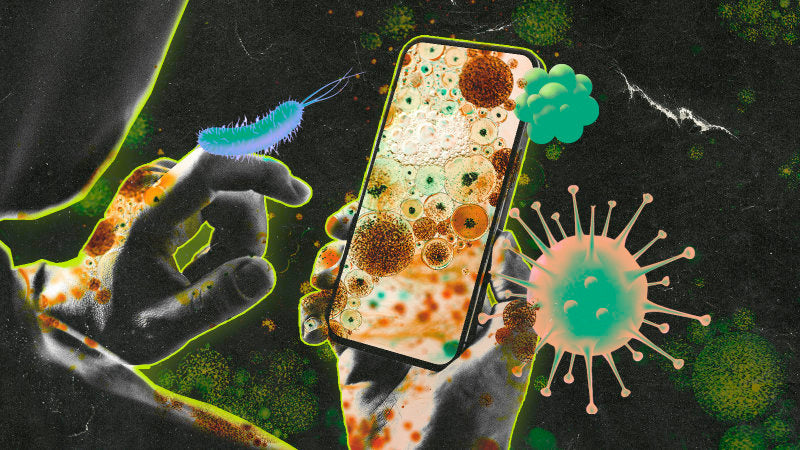
You probably use your phone multiple times a day—checking emails, scrolling through social media, sending messages, making calls, and more. But have you ever stopped to think about just how dirty your phone might be? The answer might surprise you. Phones are one of the dirtiest objects we regularly come into contact with, and they can harbor a surprising amount of germs, bacteria, and viruses. Here's why your phone could be far dirtier than you think: 1. Phones Are Constantly Exposed to Bacteria Think about how often you touch your phone—and where your hands have been. You pick up your...
 Are OtterBox Cases the Best iPhone Case? Exploring Protection and Comparable Alternatives
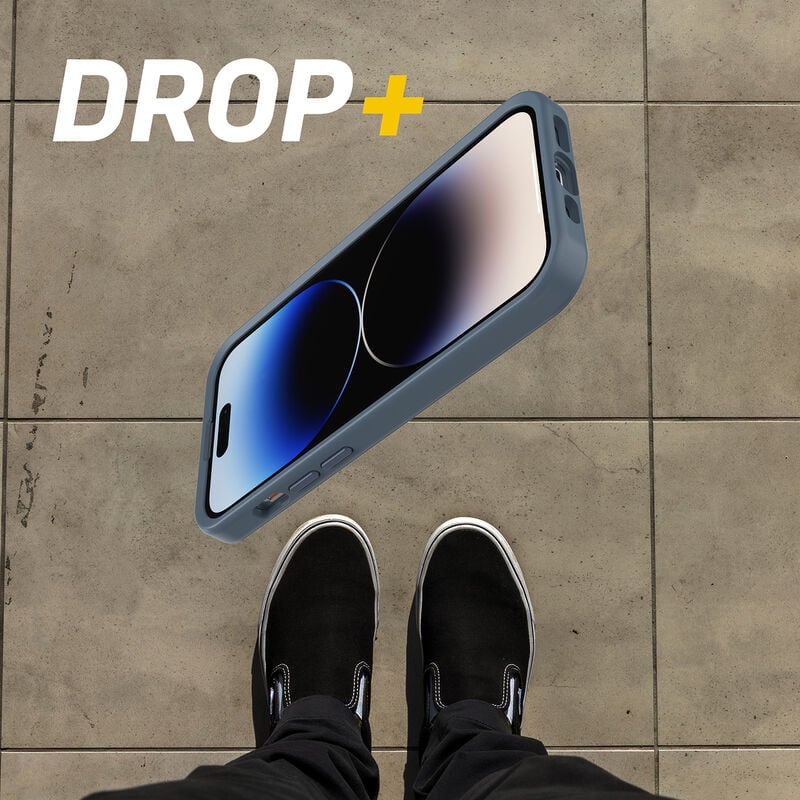
When it comes to protecting your iPhone, OtterBox has long been considered one of the most trusted brands for durable, rugged cases. Known for their exceptional iPhone case protection, OtterBox offers a variety of cases designed to keep your device safe from drops, spills, and scratches. But with so many options on the market, are OtterBox cases the best iPhone case for everyone? And are there any iPhone case alternatives that provide the same level of protection while offering additional features? Let’s explore the options, complete with price ranges in AUD. Why OtterBox is a Popular Choice for iPhone Cases...


